The Coding Environment
To implement SIFT feature detection and matching, I’ll be using openFrameworks to build a C++ app with OpenCV, the standard open-source computer vision library.
OpenFrameworks is a great open-source C++ creative coding toolkit with a host of very useful built-in features, and fantastic extensibility through a plethora of add-ons developed by an active and artistic collaborative community. I’m using openFrameworks v.9.0 on Mac OSX 10.11.3 in XCode 7.2.1. OpenFrameworks was originally developed where I’m in graduate school now at Parsons / MFA Design and Technology.
You can download openFrameworks here and find addons here.
The ofxOpenCV and ofxCV Addons
For this app, I’m using the ofxOpenCv addon, which is pre-bundled with openFrameworks, as well as Kyle MacDonald’s ofxCv addon, which is a separate download. Instructions for installing ofxCv are on the ofxCv GitHub page, but it basically works like any other openFrameworks addon: just drop the files in your addons/ folder inside the openFrameworks directory.
ofxOpenCv provides a prebuilt version of the OpenCV 3.1 library, and contains many wrapper classes for quick use of some handy OpenCV functions inside openFrameworks.
ofxCv is a more advanced extension of OpenCV that dives more deeply into the base OpenCV classes and helps make the raw functionality of OpenCV communicate “easily” with openFrameworks (easiness is always relative).
ofxCv depends on the OpenCV library, which ofxOpenCv provides – so whenever you use the ofxCv addon, you should also include the ofxOpenCv addon. If you’re more hard core than me, you could link the OpenCV library manually, but it’s easiest just to add ofxOpenCv to your project.
OpenCV
OpenCV is the most popular open source library for integrating computer vision code into C/C++, Python, and Java projects. It was developed by Intel and is now maintained by the researchers at Itseez. It is released under BSD licensing, free for both non-commercial and commercial use. It includes a huge array of classes and algorithms that can read images, analyze, alter, and output them in many ways. It’s powerful but notoriously obtuse: OpenCV can be a bit of a brick wall when you’re just getting started, like me – which is why I’m getting to know it through my old friend openFrameworks. (That said, the OpenCV community is quite friendly – it’s just a difficult subject with somewhat cryptic documentation.)
OpenCV’s SIFT Algorithm
Most importantly here, OpenCV includes a version of the SIFT algorithm so we can use those functions in this project. Note that the SIFT algorithm, despite being included with OpenCV, is not licensed for commercial use, so should only be used for educational or research projects. If you’re curious about the actual SIFT code, you can peek at the header file, which contains the declarations of its functions (but not the internal function code, which has been precompiled in the ofxOpenCv addon). The header file of the SIFT algorithm can be found here (I’ve broken the path onto several lines):
[openFrameworks path]/addons/ofxOpenCv/
  libs/opencv/include/opencv2/
    nonfree/features2d.hpp
Generating the Project
I’m going to go step by step in these posts, as a sort of tutorial to make the information as accessible to anyone who may be just starting out in coding and has trouble, like I do, finding and following odd directions that tend to be scattered around the internet, and are often out of date.
A Few Assumptions I’m Making of You
That said, I won’t cover the basics of getting openFrameworks installed, since that is covered in detail here. I’ll also assume that you’re working in Mac OSX and using XCode 7 as your code editor (a.k.a. IDE, integrated development environment), just because that’s what I’m using. XCode can be downloaded from the Apple app store.
I’ll also assume you have basic knowledge of C++ syntax and understand what is meant by classes, objects, and vectors, since that understanding is fundamental to coding in openFrameworks and C++ in general. If you don’t, try going through some of the ofBook, which is unfinished but has some nice openFrameworks-specific tutorials introducing C++. Also, it’s helpful in general when coding to have a basic understanding of the command line (tutorial here) and GitHub (tutorial here) – but command line/GitHub are not strictly necessary for this project.
OK, Generating the Project
Sidenote
I’ll go through the process here of generating an openFrameworks project from scratch – but as a sidenote, I recommend that you install the Alcatraz package manager for XCode and then use it to install the OFXcodeMenu plugin for XCode. That plugin will add an “OF” menu to your menubar in XCode, through which you can easily add oF addons to your project on the fly. Otherwise, adding addons to a project after you’ve generated it can be a headache.
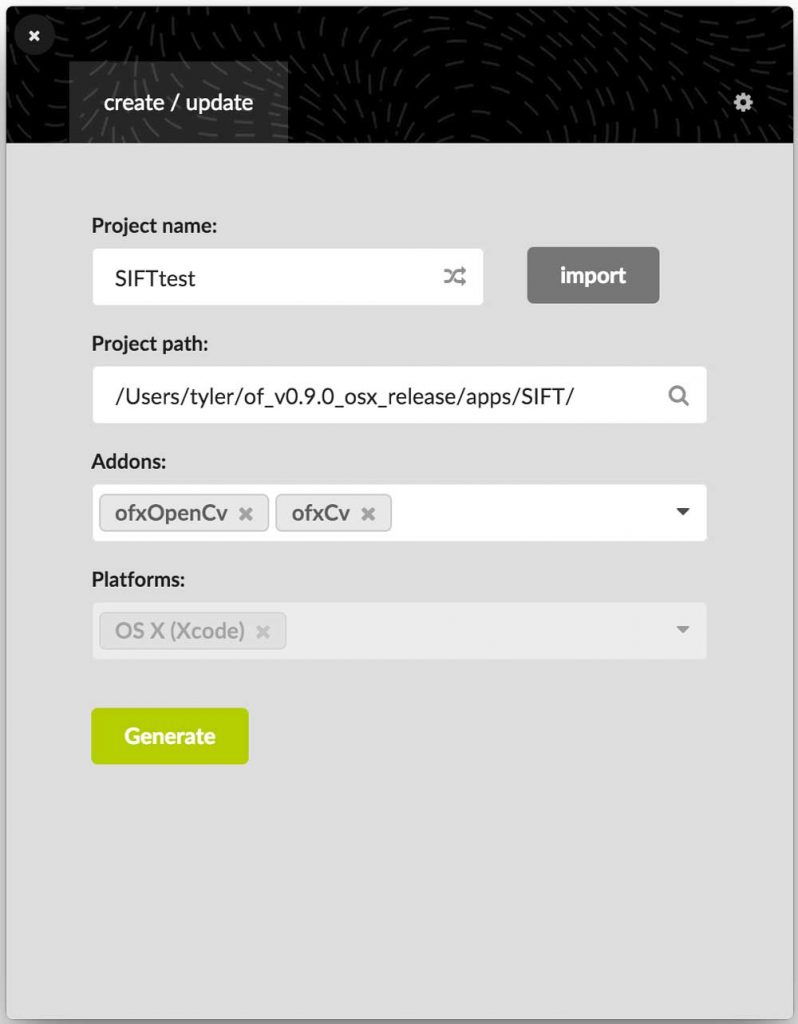
To generate the project, run the projectGenerator app that comes with openFrameworks (in the projectGenerator-osx/ directory). Name your project, and choose a folder (the folder should be a folder inside [your oF directory]/apps/ – the default is [oF path]/apps/myApps/).
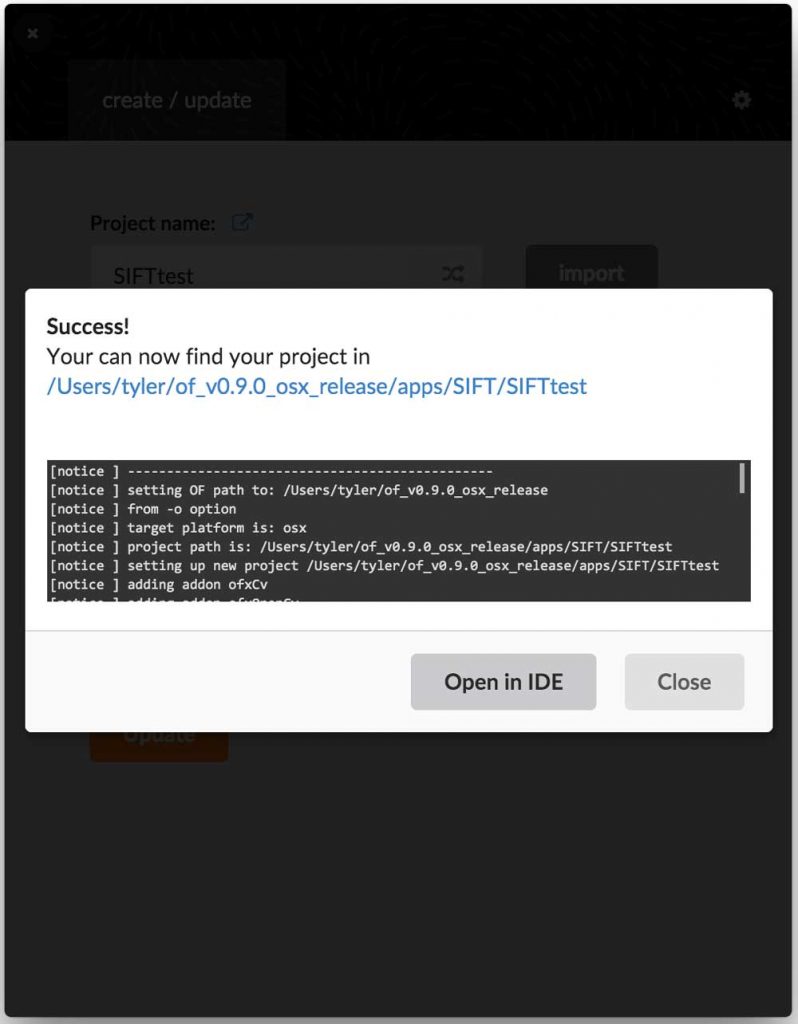
Then add the addons: ofxOpenCv and ofxCV, Generate the project, and click Open in IDE to open it in XCode.
Intro to the Code
Quick Background on OpenCV and Matrices
The OpenCV library stores images as matrices – basically, a 2D array of pixel information, such as color values for color images, or brightness (intensity) values for grayscale images. Most of the functions in OpenCV deal with doing matrix math on these image-matrices. For instance, we might want to blur an image using a Gaussian blur – in this case, the blur function involves passing a blur matrix over the image matrix, with a new blurred image-matrix as the result.
The matrix class in OpenCV is “Mat“. The Mat class is quite powerful but also has some confusing issues. First off, it’s sorted by rows and then columns, which correspond to y and x (image height by image width). Normally we tend to think of coordinates in terms of x and y (image width by height). So the coordinate system for the Mat class is the inverse of how we usually deal with images. Also, when dealing with color images, OpenCV stores them as BGR matrices, meaning it orders the color value for each pixel in memory as blue, green, red. This is a vestige from the early days of digital photography that no longer corresponds to our usual way of dealing with digital color – normally, we now order color as RGB: red, green, blue.
ofxCv to the Rescue
Luckily, ofxCv very handily masks these issues for us, allowing us to deal primarily in the standard openFrameworks class for images, ofImage. This will work well for us as long as we stay within the OpenCV functions that ofxCv has already wrapped for us. Unfortunately, there’s no wrapper for the SIFT functions, so we’ll need to deal directly with the Mat class a little bit. Fortunately we can use ofxCv’s built in conversion functions to seamlessly trade between the Mat and ofImage classes. Here’s Kyle MacDonald’s example of one way to do that from the ofxCv readme:
ofImage img;
img.load("image.png");
Mat imgMat = toCv(img);
Loading Two Images into ofxCv
To use the SIFT algorithm, we need at least two images. We’ll use one image to define what we’re looking for in the other image. The easiest way to do this is to take an image, then crop it and save that crop as a second image. I’ll do this to start off to make sure I get SIFT working properly, and then I’ll test it (in a future post) using two different images that contain the same object.
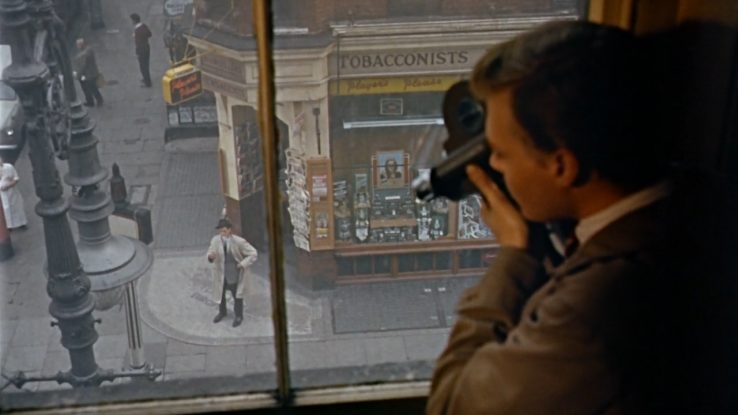
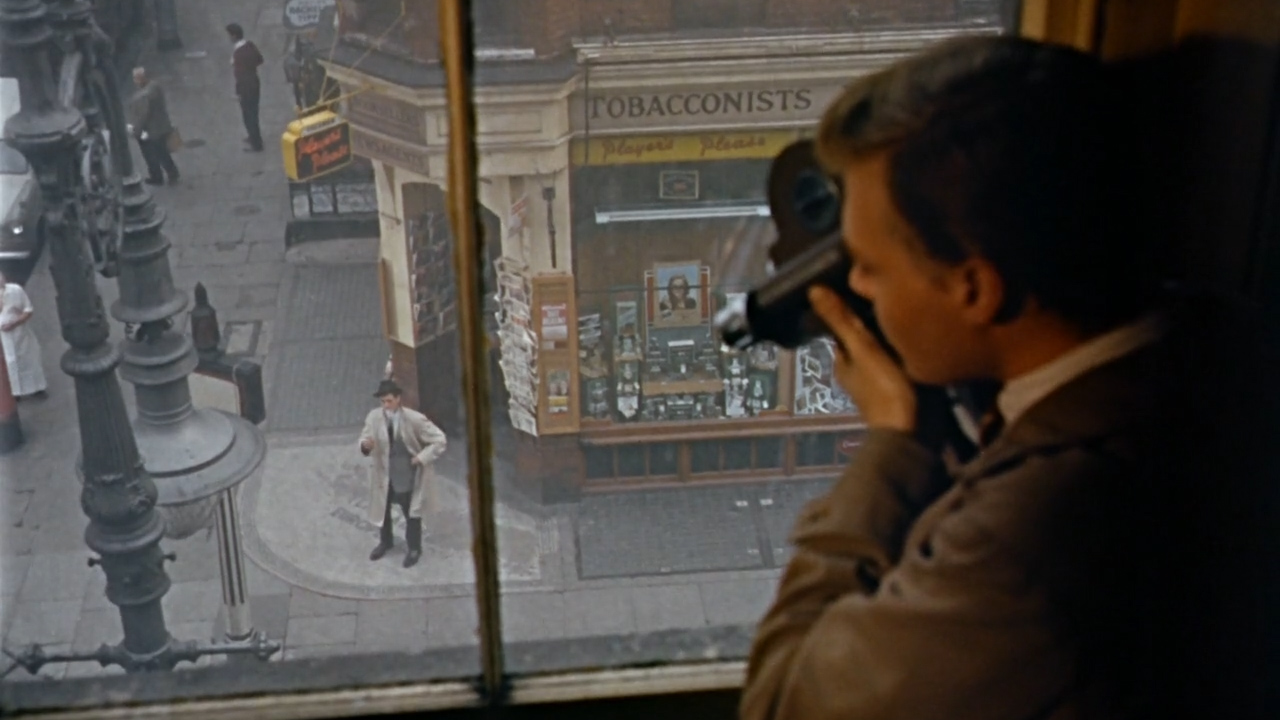
Here are my two images, which I’m pulling from Michael Powell’s 1960 film Peeping Tom:

A Note on Good Image Features
Note that I’ve chosen to crop the tobacconist’s sign from the original image. SIFT needs well-defined keypoints in order to work properly. These keypoints are small groups of pixels that are both easily identifiable and relatively unique in the image – in other words, they are regions of interest. Keypoints are first detected and then analyzed (“described”) automatically by the SIFT algorithm. In the description process, each identified keypoint becomes a vector of features. The features that make up each keypoint are simply a set of representations of the keypoint’s original pixels after they’ve passed through some complex filters. So features form a description of a keypoint, and taken together, the keypoints represent the image.
image <– keypoints (pixel groups) <– features (descriptions)
Text usually works well for keypoint detection/feature description because it has evolved to be visually legible. The letters in the sign above have areas of relatively high contrast (black letters on a stone gray background), and also have unique corners (like the downstroke on the N). Hopefully this sign will be a cinch for SIFT to find. An even better option might be a sharp, high contrast graphic logo (this one is a little blurry and could have more contrast, but we’ll see how it does).

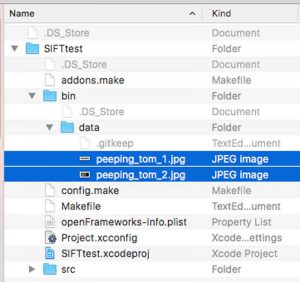
To load your images into your openFrameworks project, it’s easiest to first place them in the bin/data folder inside your project folder using Finder:
Next
Since this post has already gone on for a while – and seems to have accidentally turned into an openFrameworks getting started tutorial – I’ll cover the actual first attempt at SIFT code in the next post.
